Whether you are converting a loft or want an easier way to get into your attic without having to lug around a ladder from the shed or garage every time, you’ll need to know how to fit loft ladders.
But even if you’re not planning a conversion, a good loft ladder is a safe, easy way to access the storage available in your attic space.
It can save you time too! Instead, you can get access straight from the source.
With that in mind, let’s find out how to fit loft ladders!
Table of contents
Choose the type of loft ladder you need
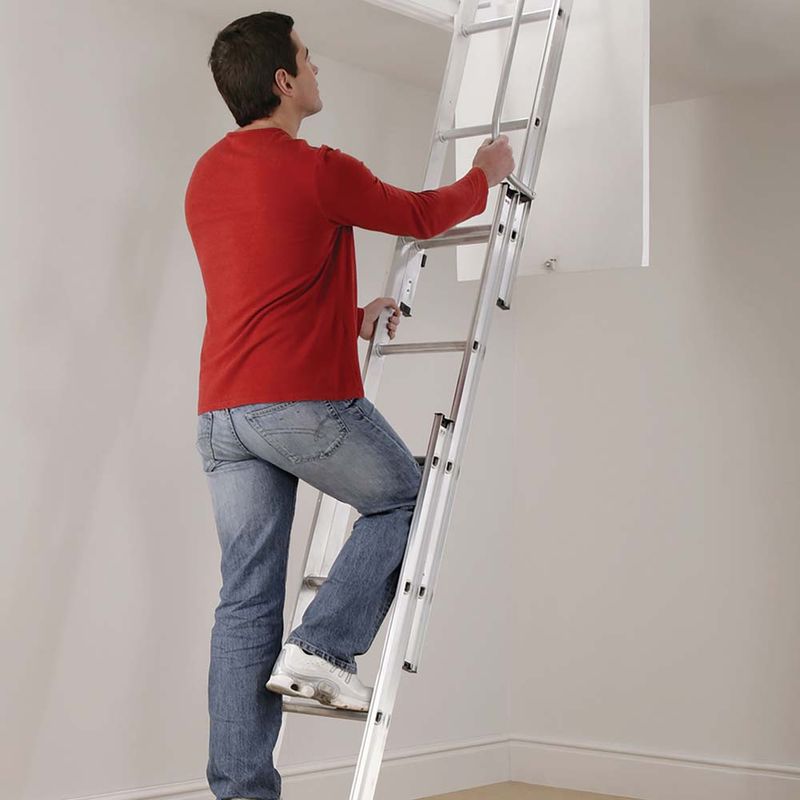
Before learning how to fit loft ladders, there are several decisions to make. The first is choosing which type of ladder you need. For example, if you are creating an additional room you could choose a fixed loft ladder with a handrail.
Depending on what height you need your ladder to be, you may need one in two or three folding sections. Popular options include:
- Wooden ladders
- Aluminium ladders
- Scissor ladders (also known as concertina ladders)
- Telescopic ladders
You may also want to consider if users will benefit from a handrail and non-slip ends.
Fitting a loft ladder requires DIY experience. Before you start, you must have all the correct tools for the job, including a drill, tape measure, screwdriver, saw, nails and screws. You will also need another ladder to access the loft whilst you fit the new one too!
How to fit loft ladders
Most loft ladders will need two people to install them safely. Before you start fitting your loft ladder, open the packaging and check that all the components are there. Most importantly, each loft ladder is different, so ensure you read the manufacturer’s instructions thoroughly and watch any available how-to videos for installing your type of ladder.

Hatch preparation
Step 1: Choose where you want your loft ladder located.
If there’s not already an opening to the loft, choosing the location for the loft hatch is essential. Check that there is enough headroom above the access to the loft. The loft hatch must be positioned at least one metre from the edge of the room. You’ll also want to make sure there is enough headroom for when you enter the loft space.
If there is already loft access, you can use this existing space for your ladder. You can find out how to widen your loft hatch opening in our loft ladders & hatches buyer’s guide.
Step 2: Consider the type of access you need to your loft.
Do you want a simple hinged hatch, or would you prefer an integrated loft door and ladder system? Do you need a high-performance fire-rated door?
The answers to those questions will determine how you’re going to proceed next.
Step 3: Think about whether you want an open or closed hatch.
An upper hatch (style of a closed hatch) can tidy the loft ladder neatly away. This prevents attic dust from accumulating on the hatch and steps when closed.
If the access hatch is going to be left open, you will need to think about the following:
Do you want a ladder balustrade surrounding the hole for additional safety?
Now onto the fitting of the ladder!
Fitting the loft ladder
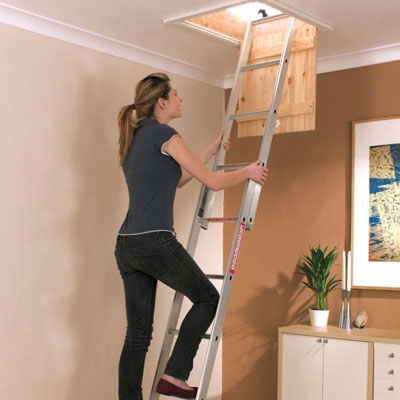
Once the hatch opening is set, working with a second person you can now fit the ladder in place in the hatch. It’s worth noting that each ladder has different fitting requirements. So always check the manufacturer’s instructions when installing ladders.
Step 1: Make sure the ladder is square in the ceiling.
Once you’ve confirmed the direction of the ladder opening is correct, ensure the ladder is square in the ceiling.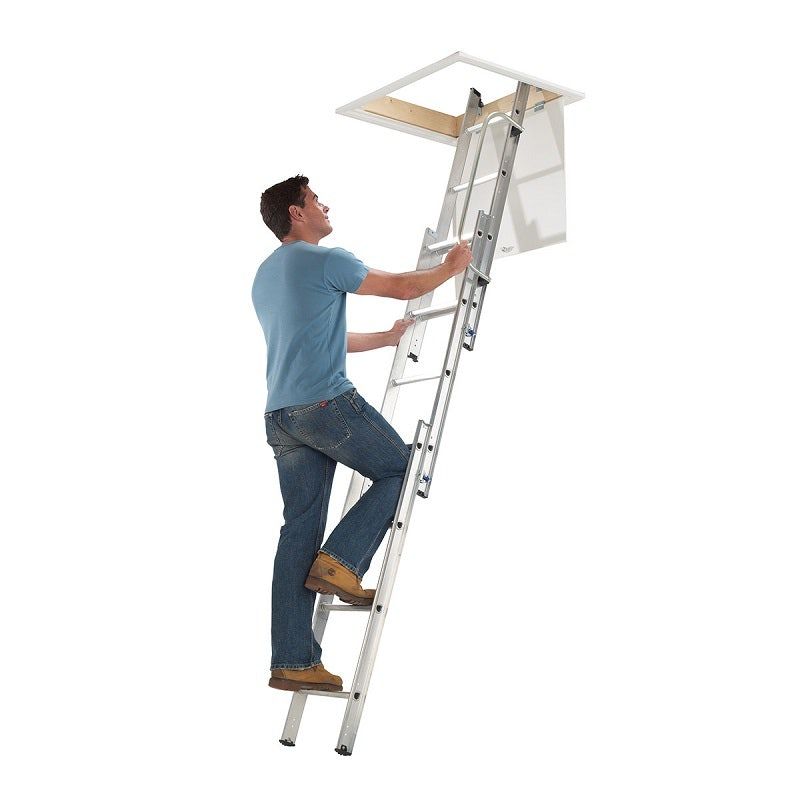
This will guarantee that the battens nailed to the sides support the ladder. You can ask your helper to check the box frame is flush with the ceiling around the opening and adjust it as necessary to make it level if not.
Some older ceilings might not allow you to make the box frame fit completely flush because of the shape. So, try to make the ladder fit as flush as possible, then place a spirit level onto one of the ladder treads to check the alignment.
Step 2: Fix the box frame permanently into the opening.
Now the ladder is set, you can add the box frame to hold it and hide it in place. There are two ways you can fix this in place. The first method is by drilling holes on both ends and sides of the box frame. Two holes on the widths (shorter sides) of the box. Three holes on each of the longer lengths of the box. Then use steel or brass wood screws to secure the box in place.
Note: Be careful not to push or pull the box frame out of place fitting the screws upwards as this can cause problems with the hatch’s lid closing. It can also cause issues with how the ladder extends and sits when fully extended.
The second method is nailing the box to the ceiling joists using a hammer and nails if preferred.
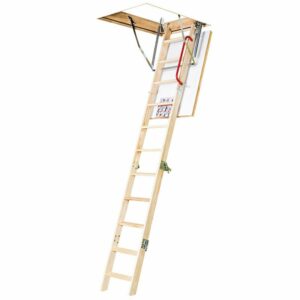
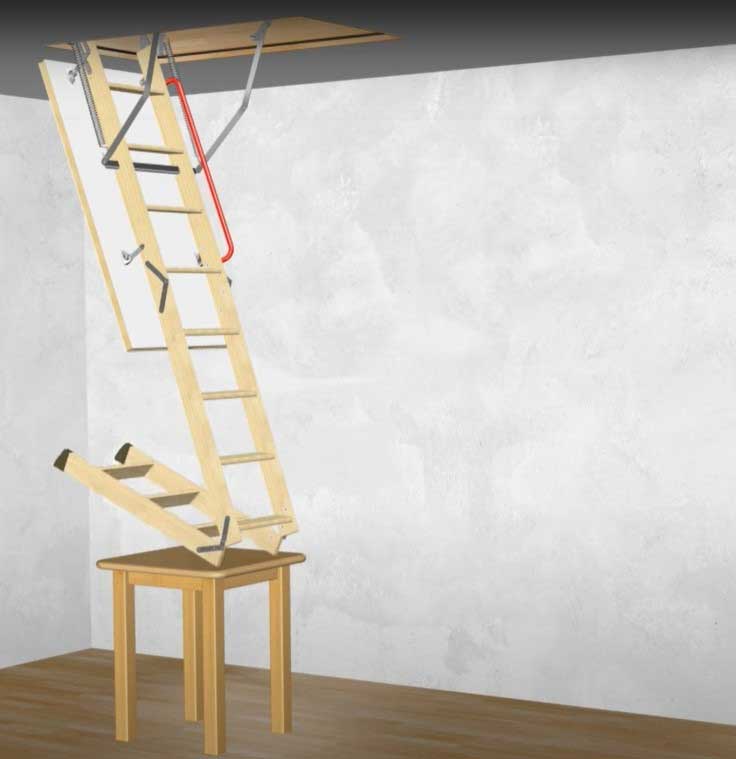
Step 3 (for timber ladders): Cut to the required height.
If you find your wooden loft ladder is too long, you can cut it down to size. Simply pull down the ladder as normal but tuck the last folding section backwards and sit it on a suitable surface for cutting.
Then, use a tape measure to find the distance between the bottom of the previous section of the ladder and the floor to find the required length needed. Take this measurement and mark it along the length of the backwards folded section of the ladder. You can then cut this section down to size.
If your loft ladder is touching the floor when the hatch and struts are extended fully, you’ve done this correctly. If your kit has provided you with plastic feet for the end of the ladder, these should allow the ladder to sit squarely with the floor when fitted.
If the kit does not provide feet, you can cut the ends of each ladder length at the bottom of the ladder to an angle using a sliding bevel. This will allow the ladder to sit as needed without the plastic feet in place.
Step 4: Finish fitting the loft ladder.
This final task is a great way to make the opening look smart. Take mitred architrave and put this around the edge of the box and frame. Fix it using panel pins (glueing corners if necessary) and hammer down any nail heads so that they are flush with or below the trim’s surface. Then use a coloured filler matching the timber so that staining and polishing the surface doesn’t stand out.
Where can I buy ladders for loft access?
Right here! Insulation Superstore offers a wide array of loft ladders to choose from. Whether you’re looking for loft ladders for a small hatch or even insulation for a loft hatch we’ve got you covered!
Do you need any spare parts and accessories? If the right product isn’t available at Insulation Superstore, a wide range of loft ladder products and accessories are available from our sister store Roofing Superstore. Alternatively, we will source an item on your behalf. Just give us a call.

Was this guide useful?
Mentioned in this project guide: