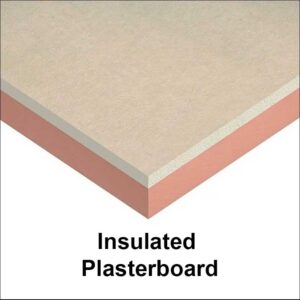
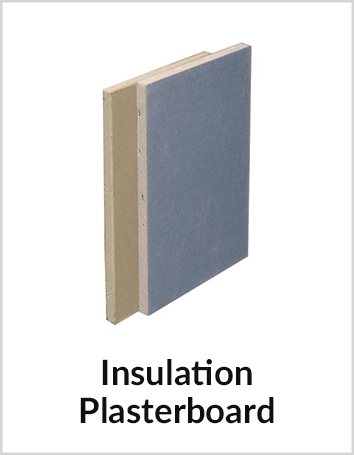
Installing insulated plasterboard helps improve energy efficiency by substantially reducing heat loss through walls and ceilings. This helps you save money on your heating bills and also provides improved sound insulation, creating a quieter and more comfortable indoor environment. With that said, what is the best way to attach insulated plasterboard?
That’s exactly what we’re here to find out; here’s what we’re going to cover in our helpful guide.
Table of contents:
- Can you dot and dab insulated plasterboard?
- How to install insulated plasterboard with fixings
- How to fit insulated plasterboard with a continuous layer of adhesive
- Fixing plasterboard to a ceiling
- Do you need to plaster over plasterboard?
- Fixing insulated plasterboard with confidence
Can you dot and dab insulated plasterboard?
Traditionally, the dot and dab method of installing insulated plasterboard has been quite popular in the UK. Today, it’s still possible to dot and dab insulated plasterboard—but only so long as it’s in a new build. This means it’s no longer a suitable technique for an existing property.
This is because, according to the latest government document, Retrofit Internal Wall Insulation: Guide to Best Practice, retrofit installers should strive to minimise air gaps between insulation and the existing wall to decrease the likelihood of interstitial condensation.
As it turns out, dot and dab problems pose the greatest risk of interstitial condensation. So, the method should be avoided due to the air gaps it creates behind the insulation.
If you were wondering – does insulated plasterboard need an air gap? – you now have your answer. No, it doesn’t. In fact, it should be avoided at all costs.
The sole exception to this rule occurs when a ventilation cavity is designated behind the insulation. In such cases, a vapour-permeable membrane will be placed behind the insulation, and the space between each stud spacing will be ventilated to the exterior at both the top and bottom of the cavity. In effect, you end up with an insulated plasterboard with a vapour barrier.
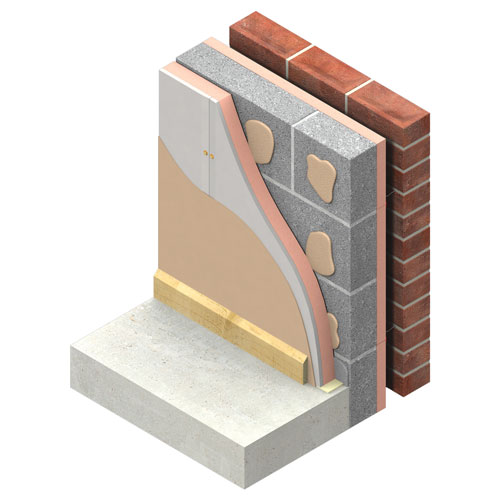
But in all other cases, you need to apply a continuous layer of adhesive to the wall. Alternatively, you can use appropriate insulated plasterboard fixings with correct spacing to secure the insulation tightly to the existing wall.
Now that we’ve cleared up which methods are suitable for fixing insulated plasterboard to an existing wall and which are not, let’s zoom in on the actual process!
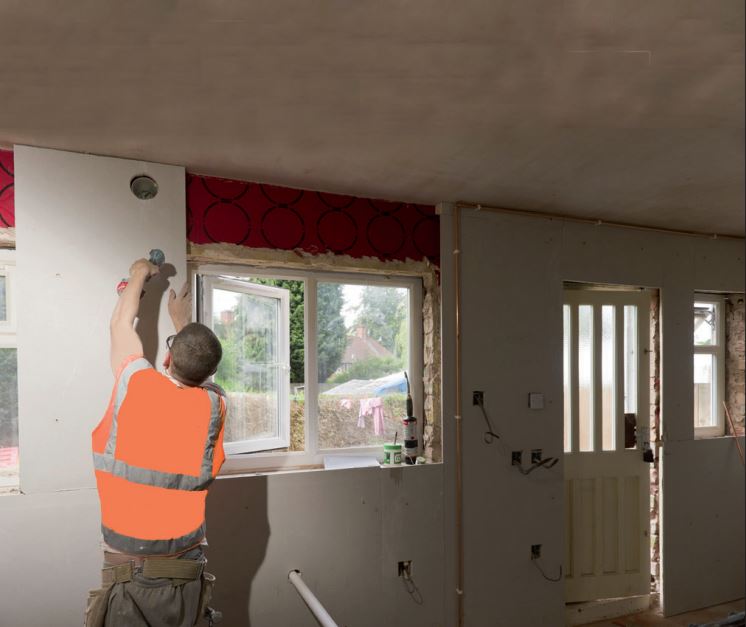
How to install insulated plasterboard with fixings
While it’s not necessarily the most complex DIY project you’re likely to come across, putting up plasterboard with fixings will require patience, attention to detail and careful planning to achieve the best results.
Tools & materials you’ll need
- Insulated plasterboard
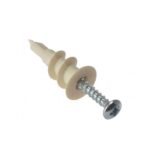
- Appropriate fixings for the wall type (i.e., plasterboard screws for drywall, masonry screws for brick or concrete walls)
- Drill
- Screwdriver
- Spirit level
- Tape measure
- Stanley knife
Once you’ve gathered everything and ensured the wall is smooth, flat and clean follow these steps.
Step 1: Measure and mark
Measure and mark the positions on the wall where the insulated plasterboard will be installed, ensuring proper alignment and spacing.
Please note: The correct spacing of fixings will likely vary depending on the size and type of the plasterboard panels, as well as the wall substrate.
A general rule of thumb for insulated plasterboard screw spacing is around 150mm-300mm apart along the edges of the plasterboard panels and around 300mm-600mm apart in the centre of the panels.
As always, make sure you read the manufacturer’s instructions carefully.
Step 2: Prepare the insulated plasterboard
Cut the insulated plasterboard panels to fit the measured dimensions using your Stanley knife.
Step 3: Position the plasterboard
Once you’ve finished cutting the plasterboard, carefully lift the first plasterboard panel into position against the wall, ensuring it aligns with the marked measurements.
Step 4: Fix the plasterboard
Using a drill, create pilot holes through the plasterboard and into the wall at marked positions.
Secure the plasterboard to the wall using appropriate fixings, ensuring they are driven flush with the surface of the plasterboard.
Step 5: Check alignment
Use a spirit level to ensure the plasterboard is installed horizontally and vertically correctly.
Step 6: Repeat process
Repeat steps 3-5 for each subsequent plasterboard panel, ensuring proper alignment and fixing at each stage.
Step 7: Apply finishing touches
Once all of the plasterboard for wall panels are installed, fill any gaps or joints with jointing compound or filler. Sand down any rough areas for a smooth finish if necessary.
Step 8: Optional finishing
Depending on the desired finish, you can paint or decorate the plasterboard according to your preference.
So, if you’ve ever Googled how to fix plasterboard to wall with fixings, now you know!
Next:

How to fit insulated plasterboard with a continuous layer of adhesive
As you would when fixing insulated plasterboard with mechanical fixings, make sure the wall is clean, dry and flat before you start.
Then, gather everything you’re going to need.
Tools and materials
- Insulated plasterboard
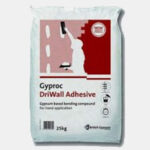
- Suitable adhesive
- Caulking gun
- Adhesive applicator nozzle
- Spirit level
- Tape measure
- Stanley knife
Once you’ve got everything handy, follow these steps to effectively fit insulated plasterboard on a wall using a continuous layer of adhesive.
Step 1: Prepare the insulation plaster board
Measure and cut the insulated plasterboard panels to the required dimensions using a utility knife.
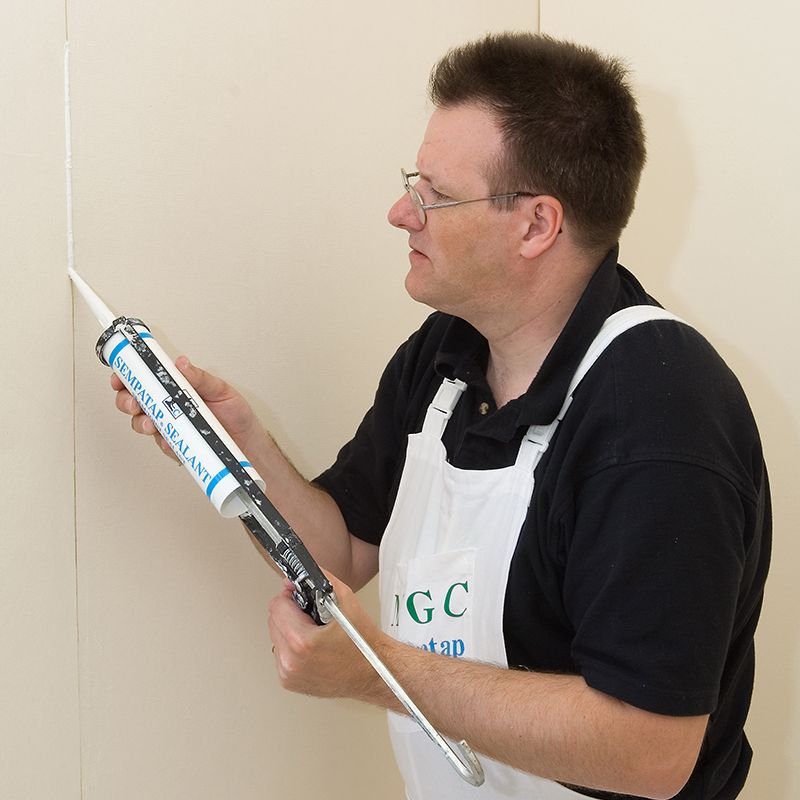
Step 2: Apply adhesive
Load the adhesive into the caulking gun and attach the adhesive applicator nozzle to the caulking gun.
Then, apply a continuous bead of adhesive to the back of the plasterboard panel, ensuring even coverage across the entire surface. For larger panels, apply additional beads of adhesive in a zigzag pattern to ensure even distribution.
Step 3: Position the plasterboard
Carefully lift the plasterboard panel into position against the plasterboard wall, aligning it with the markings or guidelines previously made.
Step 4: Press and secure
Press the plasterboard firmly against the wall to ensure full contact with the adhesive. Use a spirit level to check for proper alignment horizontally and vertically.
At this point, you can insert screws around the edges and at regular intervals across the panel to provide additional support while the adhesive sets. To do so, drive the screws flush with the surface of the plasterboard using a screwdriver.
Step 5: Repeat
Repeat steps 2-4 for each subsequent plasterboard panel, ensuring proper alignment and coverage with adhesive.
Finally, apply the finishing touches as you would with the previous method.
And that’s it – your insulated plasterboard installation should now be firmly in place, free from any unwanted and troublesome air gaps!
Fixing plasterboard to a ceiling
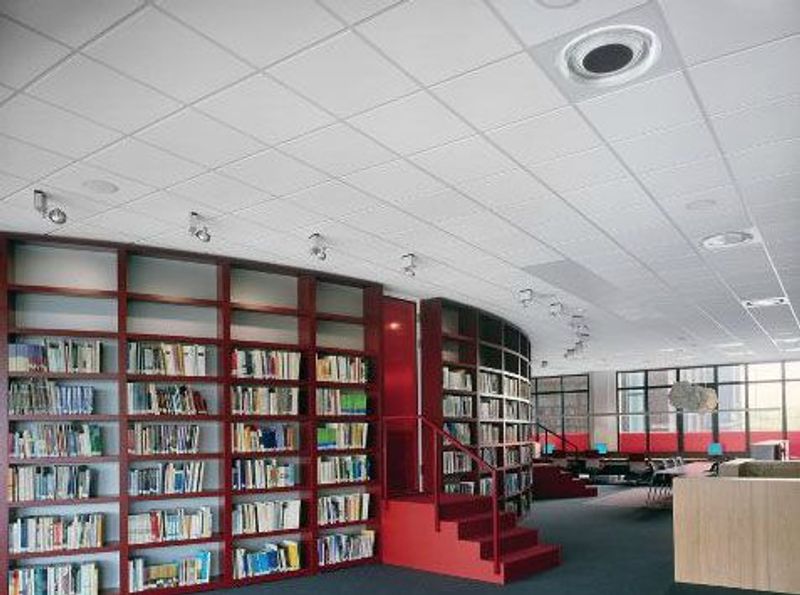
Fixing insulated plasterboard to a ceiling follows a similar process to fixing it to walls but presents some unique challenges.
Here’s the scoop:
Unlike with walls, where gravity helps hold the plasterboard in place during installation, fixing insulated plasterboard to the ceiling requires additional support to prevent sagging or falling. This often involves using more fixings spaced closer together along the edges and throughout the panel’s surface.
But wait – there’s more!
Due to the overhead position, holding the panels in place while applying adhesive or screwing them in can be physically demanding and may require assistance or specialised equipment like a plasterboard lift.
Once installed, ensure the insulated plasterboard for ceilings is properly aligned and securely fixed to the ceiling, and finish by filling any gaps or joints and applying paint or decoration as desired.
Key takeaway:
While the process of sealing plasterboard to the ceiling is similar to fixing plasterboard to walls, the overhead position and need for additional support make it somewhat more challenging and labour-intensive.
Do you need to plaster over plasterboard?
Plastering over plasterboard isn’t really necessary, as the best insulated plasterboard panels themselves easily provide a smooth and paintable surface.
That being said:
In some cases, plastering may be desired or required to achieve specific finishes or to cover imperfections in the plasterboard joints or surfaces. Plastering over plasterboard can help create a seamless finish, particularly if you’re planning to apply wallpaper or a textured finish.
What’s more:
Plastering may be necessary if the plasterboard surface is damaged or uneven and needs to be repaired or smoothed out before painting or decorating. But if that’s not the case, to plaster or not to plaster over insulated plasterboard is entirely up to you.
This brings us nicely to…
Fixing insulated plasterboard with confidence
Fixing insulated plasterboard requires confidence in handling both the materials and the installation process.
Here’s the thing:
You’ll need to accurately measure and cut the panels to fit the wall or ceiling dimensions. In addition, you’ll also have to ensure they are securely attached to the surface, whether through adhesive application or screw fixing, to prevent sagging or detachment over time.
The good news is:
Now that you know exactly how to install insulated plasterboard, you can seriously consider taking on this project with confidence.
Was this guide useful?
Mentioned in this project guide: