Plasterboard is commonly used in construction for creating interior walls and ceilings due to its ease of installation and versatility. It serves as a durable surface for finishing walls and ceilings, providing a smooth base for painting or wallpapering.
The good news is:
You can fix plasterboard in three different ways, which often depends on the substrate behind it.
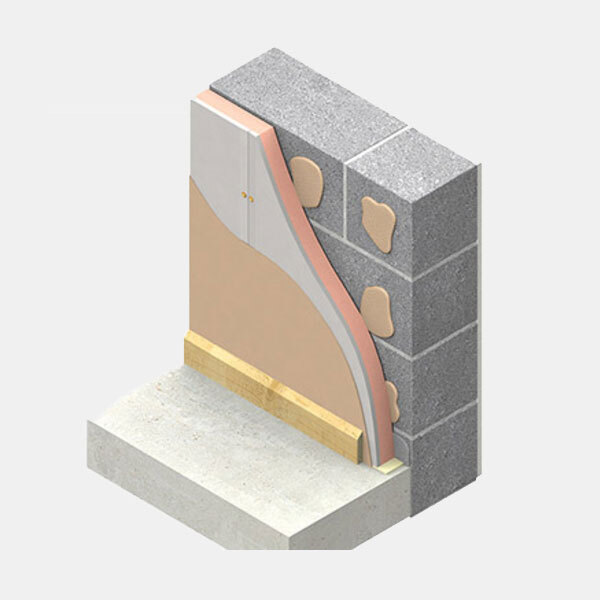
For timber frames and partitioning walls, you can use screws or nails. For fixing on brickwork and masonry, you need to opt for the dot and dab technique, also known as drylining.
Table of contents:
- How to dot and dab plasterboard
- How to fix plasterboard with screws
- How to fix plasterboard with nails
- Final thoughts
How to dot and dab plasterboard
Before beginning this process, make sure you have your chosen plasterboard adhesive and that all your plasterboard is already cut as above. Don’t forget to cut out spaces for electric sockets and any other fixtures.

Step 1: Prepare plasterboard adhesive
Follow the mixing instructions for the plasterboard adhesive until it has a fairly thick and creamy-like consistency.
Step 2: Apply adhesive
Apply a generous ‘dab’ of plasterboard adhesive every 20cm across the plasterboard in dots.
Step 3: Align plasterboard
Line up the plasterboard with the desired space using a spirit level to ensure it’s straight.
Step 4: Ensure alignment
Make sure to get the first board right as the rest will need to line up with this.
Step 5: Final touches
Press firmly until the plasterboard doesn’t move when you move away. Don’t forget to leave a gap between the floor and the boards to reduce the risk of rising damp. This will be covered by a skirting board.
How to fix plasterboard with screws
When using screws to fix plasterboard, be mindful of the location of pipes and utilities behind the boards. Opt for screws that are 25mm longer than the plasterboard is thick.
With that in mind, here are the steps you need to follow.
Step 1: Mark lines
Mark lines on the plasterboard where the timber framework is to make sure you don’t miss the timber with the screws.
Step 2: Screw into timber framework
Place screws at 100-200mm gaps across the timber framework. Don’t place any screws within 12mm of the board edge.
Step 3: Drill screws
Slowly drill the screws in until the head is just under the surface of the paper.
How to fix plasterboard with nails
To fix with nails use galvanised nails that are 30mm long for 9.5mm thick plasterboard and 40mm for 12.5mm thick plasterboard.
Step 1: Mark lines
Mark lines on the plasterboard where the timber framework is to make sure you don’t miss the timber with the nails.
Step 2: Nail into timber framework
Keep a gap of 150mm between nails and don’t go any closer than 12mm to the edge of the boards.
Step 3: Hammer nails
Slowly hammer in the nails until they are flush with the surface. And that’s it!
When fixing with screws or nails, take care not to drill in too far or hammer in too far, as this could compromise the integrity of the core of the plasterboard.
Don’t forget to find out more about the different types of plasterboard in our dedicated guide!
Final thoughts
When fixing plasterboard, it’s essential to ensure that the boards are aligned properly to create a seamless surface. Watch out for any gaps or unevenness between the boards, as well as ensuring they are securely attached to the framework with screws or nails at the appropriate intervals.
What’s more:
Pay close attention to any potential issues such as protruding screw or nail heads, which should be countersunk to achieve a smooth finish ready for further treatment such as painting or wallpapering.
The good news is:
Now that you know how to fix plasterboard in not one or two but three different ways, you can easily kick-start your next home improvement project.

Was this guide useful?
Mentioned in this project guide: